Colouring Guide: A Comprehensive Plan (as of 04/27/2026 22:30:01)
This guide explores diverse colouring methods, from traditional markers and pencils to digital art, inspired by techniques used in illustrating popular characters like Kakashi.
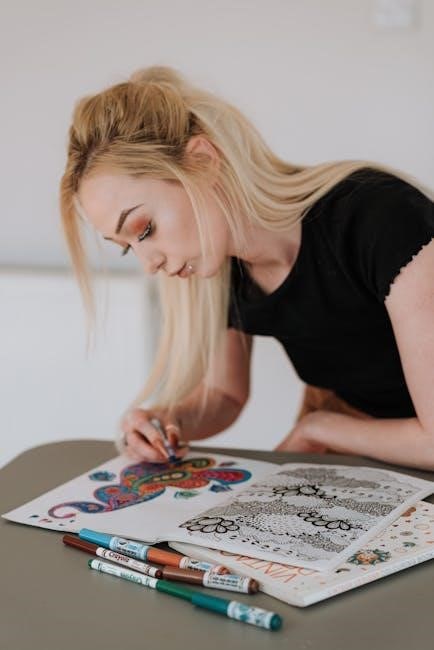
Colouring transcends mere application of pigment; it’s a powerful medium for self-expression and artistic storytelling. Throughout history, from cave paintings to modern digital art, colour has captivated and communicated. Today, a vast landscape of techniques and materials awaits aspiring artists.
The recent surge in character creation by comic giants like Marvel and DC highlights the importance of compelling visuals, where colouring plays a crucial role. Whether you’re a beginner or seasoned artist, understanding fundamental principles is key. This guide will delve into various methods, including marker blending, pencil layering, and digital techniques, drawing inspiration from styles seen in anime illustrations – like those featuring Kakashi – to elevate your artwork.
Colouring Fundamentals
Mastering colour theory and media types is essential; Explore markers, pencils, watercolours, and digital tools to unlock diverse artistic possibilities and techniques.
Colour Theory Basics
Understanding colour relationships is fundamental to impactful artwork. The colour wheel illustrates hues, tints, shades, and tones, forming the basis for harmonious palettes. Primary colours (red, yellow, blue) mix to create secondary colours (green, orange, purple);
Complementary colours, opposite each other on the wheel, create high contrast and vibrancy. Analogous colours, situated near each other, offer a more subtle and harmonious feel.
Value refers to the lightness or darkness of a colour, crucial for creating depth and form through shading. Contrast, achieved through variations in colour and value, draws the eye and adds visual interest. Effective use of these principles elevates illustrations, as demonstrated in techniques for value, shading, and layering.
Types of Colouring Media
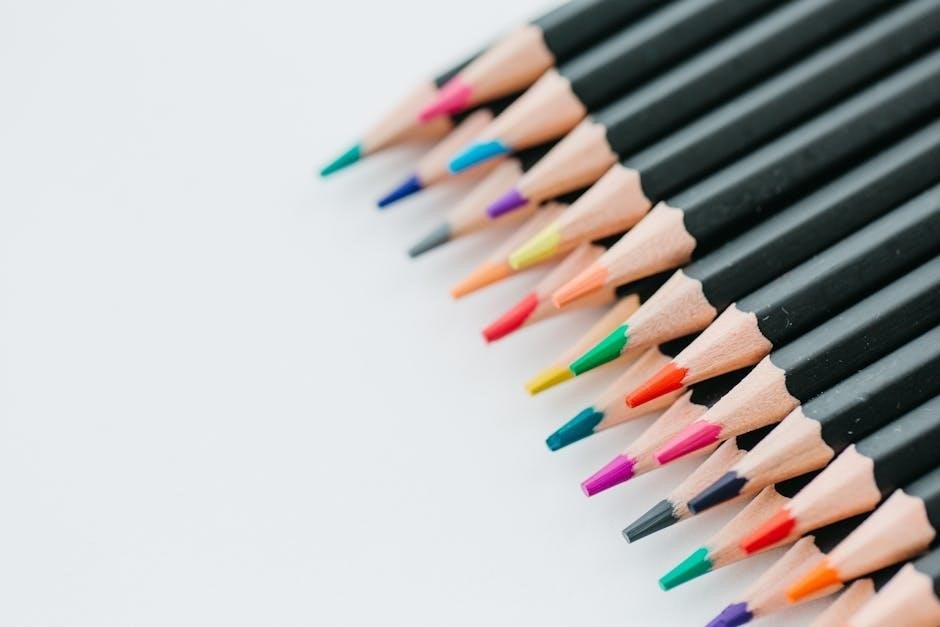
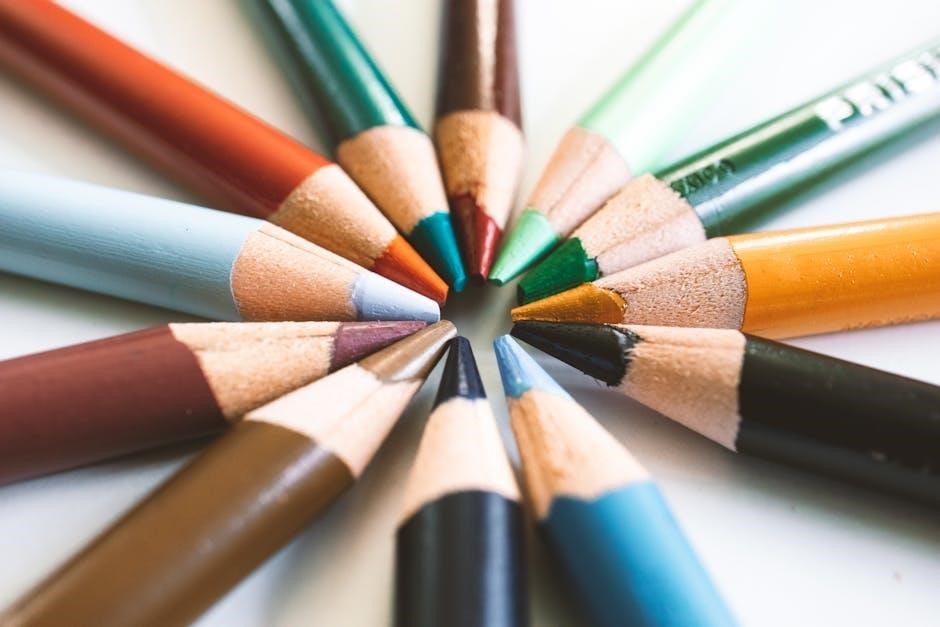
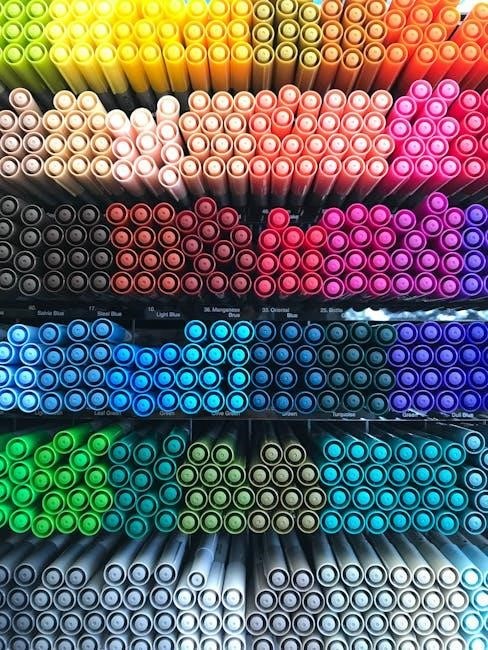
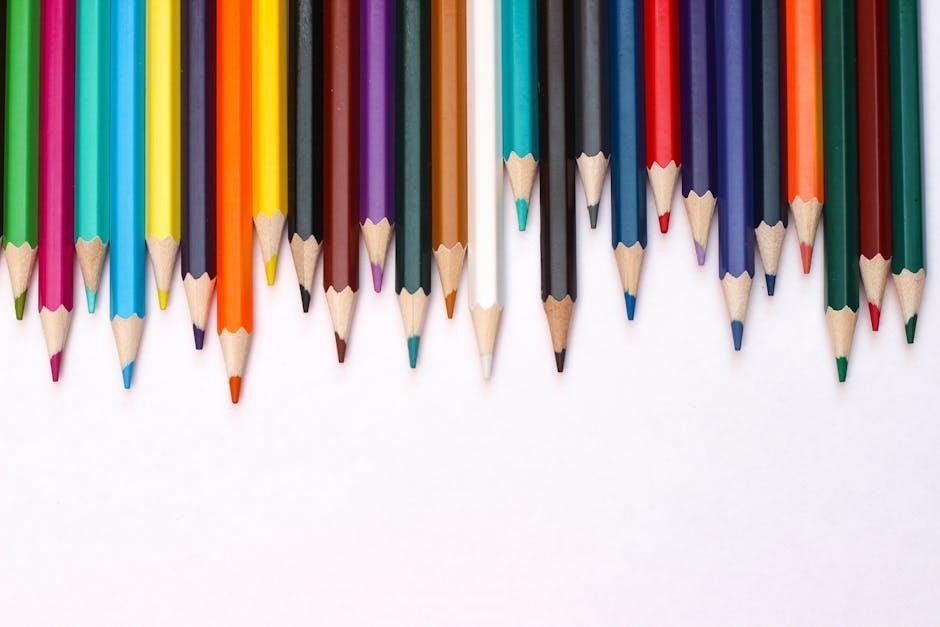
A diverse range of media offers unique artistic possibilities. Markers, available in alcohol-based and water-based varieties, provide vibrant, saturated colour and are ideal for blending and layering. Pencils, including coloured and graphite, offer control and versatility for detailed work and texture creation.
Watercolours deliver translucent washes and delicate effects, requiring mastery of water control. Digital colouring, utilizing software and tablets, provides unparalleled flexibility, layering options, and blending modes.
Each medium possesses distinct characteristics influencing the final aesthetic. Choosing the right medium depends on the desired style, from the bold lines achievable with markers to the subtle gradients possible with watercolours.
Markers
Markers are a popular choice for illustrators, offering bold colour and portability. They are broadly categorized into alcohol-based and water-based types, each with unique properties; Alcohol-based markers, like Copics, are known for their blendability and permanence, ideal for smooth gradients and layering techniques.
Water-based markers, often favoured by beginners, are less prone to bleeding and offer a different aesthetic. Mastering marker techniques involves understanding value, contrast, shading, and colour layering. They are frequently used to create dynamic illustrations, as demonstrated in tutorials focusing on character colouring.
Pencils
Coloured pencils offer incredible control and versatility, allowing for detailed work and subtle blending. Techniques range from basic layering to advanced methods like burnishing and lifting colour. Blending with tortillons or blending stumps creates smooth transitions, while layering builds depth and richness in colour.
Creating texture is another strength of pencils, achievable through hatching, cross-hatching, and scumbling. Burnishing, using a light-coloured pencil to polish the surface, yields a smooth, almost painted effect. Lifting colour with an eraser reveals highlights and adds dimension, showcasing the medium’s subtractive qualities.
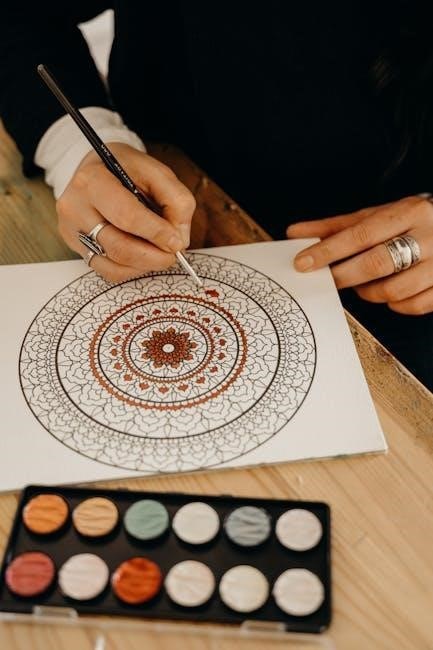
Watercolours
Watercolours provide a unique, translucent quality ideal for creating soft, ethereal effects. Mastering watercolour involves understanding pigment concentration and water control. Layering washes builds colour intensity, while varying water-to-pigment ratios achieves different tones and values. This medium excels at creating gradients and atmospheric perspectives.
Techniques like wet-on-wet and wet-on-dry offer distinct textures and blending possibilities. Wet-on-wet creates soft, diffused edges, perfect for backgrounds, while wet-on-dry allows for sharper details. Watercolour’s fluidity demands practice, but rewards artists with luminous and expressive results, suitable for illustrative work.
Digital Colouring
Digital colouring offers unparalleled control and flexibility, utilizing software like popular digital art programs. This method allows for non-destructive editing, meaning layers and effects can be adjusted without permanently altering the original artwork. Digital artists benefit from a vast palette and tools for blending, shading, and creating textures.
Understanding layering and blending modes is crucial for achieving desired effects. Different blending modes interact with layers in unique ways, influencing colour and opacity. Digital colouring supports diverse styles, from crisp cell shading to soft, realistic rendering, empowering artists to explore various aesthetics and techniques with ease.
II. Marker Colouring Techniques
Marker colouring is a vibrant and accessible medium, favoured for its bold colours and portability. Mastering marker techniques involves understanding blending, layering, and special effects. Achieving professional results requires practice with both alcohol-based and water-based markers, each possessing unique properties.
This section delves into the art of marker manipulation, exploring how to create depth through layering and smooth transitions between colours. We’ll also cover techniques for achieving specific effects, such as glowing highlights inspired by anime styles, and effective shading methods to bring illustrations to life with dimension and contrast.
Marker Blending Techniques
Explore seamless colour transitions using alcohol and water-based markers, unlocking a spectrum of hues and gradients for dynamic and visually appealing artwork.
Alcohol-Based Marker Blending
Alcohol-based markers are renowned for their smooth blending capabilities, making them a favourite among illustrators. The key lies in working quickly while the ink is still wet, allowing colours to meld seamlessly. Begin by laying down a base colour, then introduce a darker shade to create shadows and depth.
Immediately follow with a lighter shade to soften the transition and achieve a gradient effect. Overlapping the colours slightly is crucial; avoid harsh lines. Utilize a blending marker or a colourless blender to further smooth out any streaks and create a polished finish. Practice controlling ink flow and layering to master this technique, achieving professional-looking results.
Water-Based Marker Blending
Water-based markers offer a different blending experience compared to their alcohol-based counterparts. These markers reactivate with water, allowing for unique effects. Apply colours to your surface and then, using a water brush or a damp blending brush, gently work the colours together.
The water re-wets the ink, enabling it to flow and blend. Be mindful not to oversaturate the paper, as this can cause buckling or bleeding. Layering is still important, but the blending process is more akin to watercolour painting. Experiment with different water levels to control the intensity and softness of the blend, creating subtle gradients and washes.
Layering with Markers
Building colour depth with markers involves applying successive layers, starting with lighter shades and gradually adding darker tones for dimension and realism.
Creating Depth with Layers
Achieving a sense of depth in marker illustrations relies heavily on strategic layering. Begin with the lightest values, establishing the base tones and overall colour scheme. Subsequent layers introduce mid-tones, subtly building form and volume.
Gradually incorporate darker shades to define shadows and create contrast, enhancing the three-dimensional appearance. Remember that layering isn’t simply about adding more colour; it’s about controlling value and saturation.
Consider the light source and apply darker layers to areas furthest from it. This technique, combined with smooth transitions between layers, will convincingly portray depth and realism within your artwork, mirroring professional illustration techniques.
Achieving Smooth Transitions
Smooth colour transitions are crucial for realistic and visually appealing marker artwork. Avoid harsh lines by blending colours while they’re still wet, utilizing the marker’s natural diffusion properties. Overlapping colours slightly, and working quickly, is key to a seamless blend.
Employ a lighter hand for subsequent layers, gradually building up colour intensity. This prevents banding and ensures a gradual shift in tone. Practice controlling the pressure applied to the marker to modulate colour saturation and achieve subtle gradients.
Consider using a colourless blender to further soften transitions and eliminate any visible streaks, resulting in a polished and professional finish.
Special Marker Effects
Explore advanced techniques like creating anime-inspired glows, dynamic highlights, and impactful shading to elevate your marker illustrations with unique visual flair.
Creating Glow Effects (Anime Inspired)
Achieving a captivating glow, reminiscent of anime aesthetics, requires a strategic approach with markers. Begin by establishing your base colours and shadows, then carefully layer lighter shades around the intended glow source.
Utilize a pale colour, often a very light yellow or white, and apply it with gentle, circular motions. Gradually build up the intensity, focusing on the core of the glow.
Blending is crucial; softly diffuse the edges of the glow to create a believable aura. Consider using a colourless blender marker to further soften transitions. Experiment with layering different shades of light colours to add depth and complexity to the effect, mimicking the radiant energy often seen in anime artwork.
Highlighting and Shading with Markers
Mastering highlights and shadows is fundamental to creating depth and form with markers. Begin by identifying your light source and applying the darkest shades to areas furthest from it. Build up layers gradually, using varying pressure to control intensity.
For highlights, select lighter shades of your base colour or even a pale colourless blender. Apply these to areas directly hit by the light source, focusing on edges and reflective surfaces.
Smooth transitions are key; blend the shadows and highlights seamlessly to avoid harsh lines. Utilize layering and blending techniques to achieve a realistic and visually appealing result, enhancing the overall illustration’s dimension and impact.
III. Pencil Colouring Techniques
Pencil colouring offers remarkable control and versatility. This section delves into techniques for achieving stunning results with coloured pencils, moving beyond simple application. We’ll explore blending methods utilizing tools like tortillons and blending stumps, crucial for smooth transitions and realistic effects.
Layering is paramount; building up colour gradually allows for richer tones and greater depth. Discover how to create texture through hatching, cross-hatching, and scumbling – techniques that add visual interest and dimension to your artwork.
Advanced techniques like burnishing and lifting colour will further refine your skills, enabling you to achieve professional-quality illustrations.
Pencil Blending Techniques
Mastering blending is key to realistic pencil art. Explore using tortillons, blending stumps, and layering to achieve seamless transitions and vibrant colour depth.
Blending with Tortillons and Blending Stumps
Tortillons and blending stumps are essential tools for achieving smooth, seamless blends with coloured pencils. These tightly wound paper tools gently distribute pigment, softening harsh lines and creating realistic gradients. Begin by applying light layers of colour, then use a tortillon or stump with a circular motion to blend the pigments together.
The pressure applied dictates the intensity of the blend; lighter pressure yields subtle transitions, while firmer pressure creates a more saturated effect. Regularly clean your blending tool by gently rubbing it on a piece of scrap paper to prevent colour contamination. Experiment with different sizes and shapes of tortillons and stumps to access varying levels of detail and control within your artwork. Remember to work slowly and build up the blend gradually for optimal results.
Layering Pencil Colours
Layering is a fundamental technique for creating depth, richness, and complex colour variations with coloured pencils. This involves applying multiple thin layers of different colours on top of each other, rather than attempting to achieve the desired shade in a single pass. Start with lighter shades and gradually build up to darker tones, allowing each layer to slightly blend with the previous one.
Consider colour theory when layering; complementary colours can create interesting muted tones, while analogous colours produce harmonious blends. Experiment with different pressures and angles to control the intensity and texture of each layer. Patience is key – building up layers slowly yields the most rewarding and nuanced results. This method allows for corrections and adjustments throughout the colouring process, offering greater control over the final outcome.
Creating Texture with Pencils
Explore techniques like hatching, cross-hatching, and scumbling to simulate various surfaces and add visual interest to your pencil illustrations, enhancing realism.
Hatching and Cross-Hatching
Hatching involves drawing parallel lines to create value and texture. The closer the lines, the darker the area appears; wider spacing suggests lightness. This technique is fantastic for building form and suggesting shadows with simple means.
Cross-hatching takes hatching a step further by layering lines at different angles. This intersection of lines dramatically increases density and creates richer, more complex shading. Experiment with angles and line weights to achieve varied textural effects.
Consider line quality; varying pressure can create thicker or thinner lines, adding nuance. Practice controlling line direction and density to master these foundational techniques for realistic and expressive pencil work. These methods are crucial for developing depth and form in your illustrations.
Scumbling Techniques
Scumbling is a textural pencil technique involving the application of small, scribbled marks. Unlike hatching, scumbling doesn’t rely on parallel lines; instead, it creates a broken, uneven surface. This method excels at simulating rough textures like fur, foliage, or weathered surfaces.
Varying pressure and the size of your scribbles will dramatically alter the effect. Light, loose scumbling creates a soft, airy texture, while denser, darker scumbling builds up value and form. Layering different colours with scumbling can add visual interest and complexity.
Experiment with circular or erratic motions to achieve unique textures. Scumbling is particularly effective for backgrounds and areas where precise detail isn’t essential, offering a quick way to build depth and visual appeal.
Advanced Pencil Techniques
Master burnishing for smoothness, lifting colour to create highlights, and layering for depth. These techniques elevate pencil work, achieving professional, polished illustrations with nuanced detail.
Burnishing for Smoothness
Burnishing is a crucial advanced pencil technique for achieving incredibly smooth and polished results in your artwork. This process involves applying significant pressure with a light-colored pencil (often white or a very pale shade) over layers of existing colour.
The pressure essentially compresses the pigment particles into the paper’s tooth, filling the tiny grooves and creating a seamless, almost waxy finish. It’s particularly effective after layering multiple colours, as it blends them together beautifully.
However, be cautious! Burnishing can make further layering difficult, as the paper’s texture is reduced. It’s best used as a final step to refine and perfect your colouring. Experiment with different pencil hardnesses for varying degrees of smoothness and control.
Lifting Colour for Highlights
Lifting colour is an advanced pencil technique used to create bright, impactful highlights and add dimension to your illustrations. Unlike adding layers, this method removes pigment from the paper, revealing its natural white or lighter tones underneath.
Several tools can achieve this effect, including kneaded erasers, eraser pencils, and even masking fluid applied before colouring. Kneaded erasers, when gently dabbed, lift colour without damaging the paper’s surface.
Eraser pencils offer more precision for creating sharp, defined highlights. This technique works best on smoother paper surfaces. Practice controlling the pressure and angle to achieve subtle or dramatic effects, enhancing the overall realism and vibrancy of your artwork.
IV. Digital Colouring Techniques
Digital colouring offers unparalleled flexibility and control, revolutionizing the artistic process. Unlike traditional media, digital art allows for easy experimentation with colours, blending modes, and effects, all within a software environment.
A crucial first step is selecting appropriate software. Popular digital art programs like Adobe Photoshop, Clip Studio Paint, and Procreate provide a robust set of tools for artists of all levels. Understanding the interface and core functionalities of your chosen program is essential.
Mastering layers and blending modes unlocks a world of possibilities, enabling complex shading, textures, and stylistic choices, from cell shading to soft, realistic gradients.

Software Overview
Explore industry-standard programs like Photoshop, Clip Studio Paint, and Procreate, each offering unique tools for digital artists seeking precision and creative control.
Popular Digital Art Programs
Adobe Photoshop remains a dominant force, renowned for its robust features and extensive brush library, ideal for detailed illustrations and photo manipulation. Clip Studio Paint excels in comic and manga creation, offering specialized tools for inking, paneling, and perspective ruling.
Procreate, exclusive to iPad, provides an intuitive and streamlined experience, perfect for sketching and painting on the go with its responsive touch interface. Krita, a free and open-source option, boasts a powerful feature set comparable to commercial software, making it accessible to all artists.
Each program supports layers, blending modes, and a wide range of colour palettes, empowering artists to achieve diverse styles, from cell shading to soft rendering. Experimenting with these tools unlocks unique creative possibilities.
Digital Layering and Blending Modes
Digital art thrives on layers, enabling non-destructive editing and experimentation. Blending modes alter how layers interact, creating diverse effects and colour harmonies.
Understanding Blending Modes
Blending modes are fundamental to digital colouring, dictating how a layer’s pixels interact with those beneath it. Normal mode simply covers the layers below, while others offer transformative effects. Multiply darkens, ideal for shadows, and Screen lightens, perfect for highlights.
Overlay combines Multiply and Screen, increasing contrast. Soft Light offers a subtler effect. Colour Dodge and Colour Burn create intense colour shifts. Experimenting with these modes unlocks a vast range of stylistic possibilities. Understanding how each mode alters colour and value is crucial for achieving desired results, allowing artists to create depth, texture, and unique visual styles within their digital artwork.
Digital Colouring Styles
Explore distinct digital approaches, including the bold simplicity of cell shading and the smooth, realistic gradients achieved through soft shading techniques for illustrations.
Cell Shading
Cell shading, also known as flat shading, is a digital colouring style that mimics the look of traditional comic books and animation. It utilizes distinct blocks of colour with sharp, defined shadows, avoiding gradients for a bolder aesthetic. This technique relies on carefully chosen values and contrast to create form and depth.
Artists often use a limited colour palette with cell shading, enhancing its graphic quality. The process involves selecting base colours, then adding shadows and highlights using darker and lighter shades of the same hue. It’s a popular choice for its efficiency and striking visual impact, frequently seen in anime and manga-inspired artwork. Mastering cell shading provides a strong foundation for understanding light and shadow principles.
Soft Shading
Soft shading aims to create a more realistic and subtle rendering of form through gradual transitions between light and shadow. Unlike cell shading’s defined blocks, soft shading employs gradients and blended colours to simulate how light naturally interacts with surfaces. This technique requires a nuanced understanding of light sources, atmospheric perspective, and colour theory.
Digital artists achieve soft shading using various tools like airbrushes and blending modes within software programs. Layering colours and adjusting opacity are crucial for building up depth and creating a smooth, polished look. Soft shading is often preferred for illustrations requiring a high degree of realism or a gentle, atmospheric mood, offering a visually appealing and immersive experience.
Related Posts
thelma the unicorn parents guide
Thelma the Unicorn: A Comprehensive Parents Guide (Updated 02/05/2026) This…
guide me o thou great jehovah lyrics methodist hymnal
Article Plan: Guide Me, O Thou Great Jehovah ⎼ Methodist…